
How to Use a Photo Booth App: The Universal Steps
It doesn't matter which app you use (Snap360, dslrBooth, LumaBooth, ChackTok or Simple Booth): the steps to get your photo booth ready are almost always the same, only the interface changes. This guide is a hands-on, app-agnostic tutorial for your first event (not a buying guide or a technical breakdown of the software). At the end you'll find the link to the detailed guide for each app.
Step 1: Create the Event or Session
Every photo booth app starts by creating an event (or session). That's where the template, the capture modes and the sharing settings are stored. Create one per event type (wedding, corporate, birthday) so you have it ready to reuse.
Step 2: Choose a Template and Customize
Select a template and upload your overlay or frame (ideally PNG with a transparent background), the logo and the event colors. This is the step that gives the result a professional look, and it works the same way across all apps.
Step 3: Connect the Camera and Hardware
Pair the camera (or use the device's own) and, if you have a motorized 360 platform, connect it usually via Bluetooth. Adjust the lighting and, for 360, the speed and direction of the spin. The Canon EOS 2000D camera is a very common choice for professional quality.
Step 4: Take a Test Capture
Before the event, do a real test: take a photo or video, check the framing, the light and that the overlay looks right. For 360, make sure the full spin records and processes without cuts. Five minutes of testing saves you nasty surprises when it's live.
Step 5: Set Up Sharing
Enable the delivery options you want: QR code, email or SMS are the fastest for each guest to get their content on their phone. Leave only the necessary ones active to keep the line moving smoothly.
Detailed Guide by App
Each app has its own quirks. Here's the specific step-by-step for the most widely used ones:
- How to use Snap360 (360 video)
- How to use dslrBooth (desktop software)
- How to use LumaBooth (iPad)
- How to use ChackTok (360 and iPad)
- How to use Simple Booth (iPad, classic photo booth)
Still Haven't Chosen an App?
If you're still deciding which software to use, start with our guide to the best 360 photo booth software, where we compare the main options. For 360 video, Snap360 is the one that best combines specialization, clear pricing and support in Europe.
Frequently Asked Questions
Is a Photo Booth App Hard to Use?
No. The flow is always similar: create the event, choose a template, connect the camera, run a test and enable sharing. In one afternoon you'll have any photo booth app under control.
Does the Same App Work for Photo and 360?
Some apps do both (photo, GIF and 360), but they usually excel at one. If your business is about 360 video, a 360-specialized app beats a generalist one.
What Do I Need Besides the App?
Usually a device (iPad or computer), a camera, lighting and, for 360, a spinning platform. The app ties it all together and handles capture, the template and delivery to the guest.
Which Is the Best App to Start With?
It depends on your format. For 360 video, Snap360 is easy to use, with clear pricing and good support. You can compare all the options in our guide to the best 360 photo booth software.
Can I use my own phone as the booth camera?
Yes, it is the norm on 360 booths: the arm mount takes a modern phone or a GoPro. For print photo booths, a DSLR like the Canon EOS 2000D gives a quality jump you really notice on printed copies.
Our Photo Booths
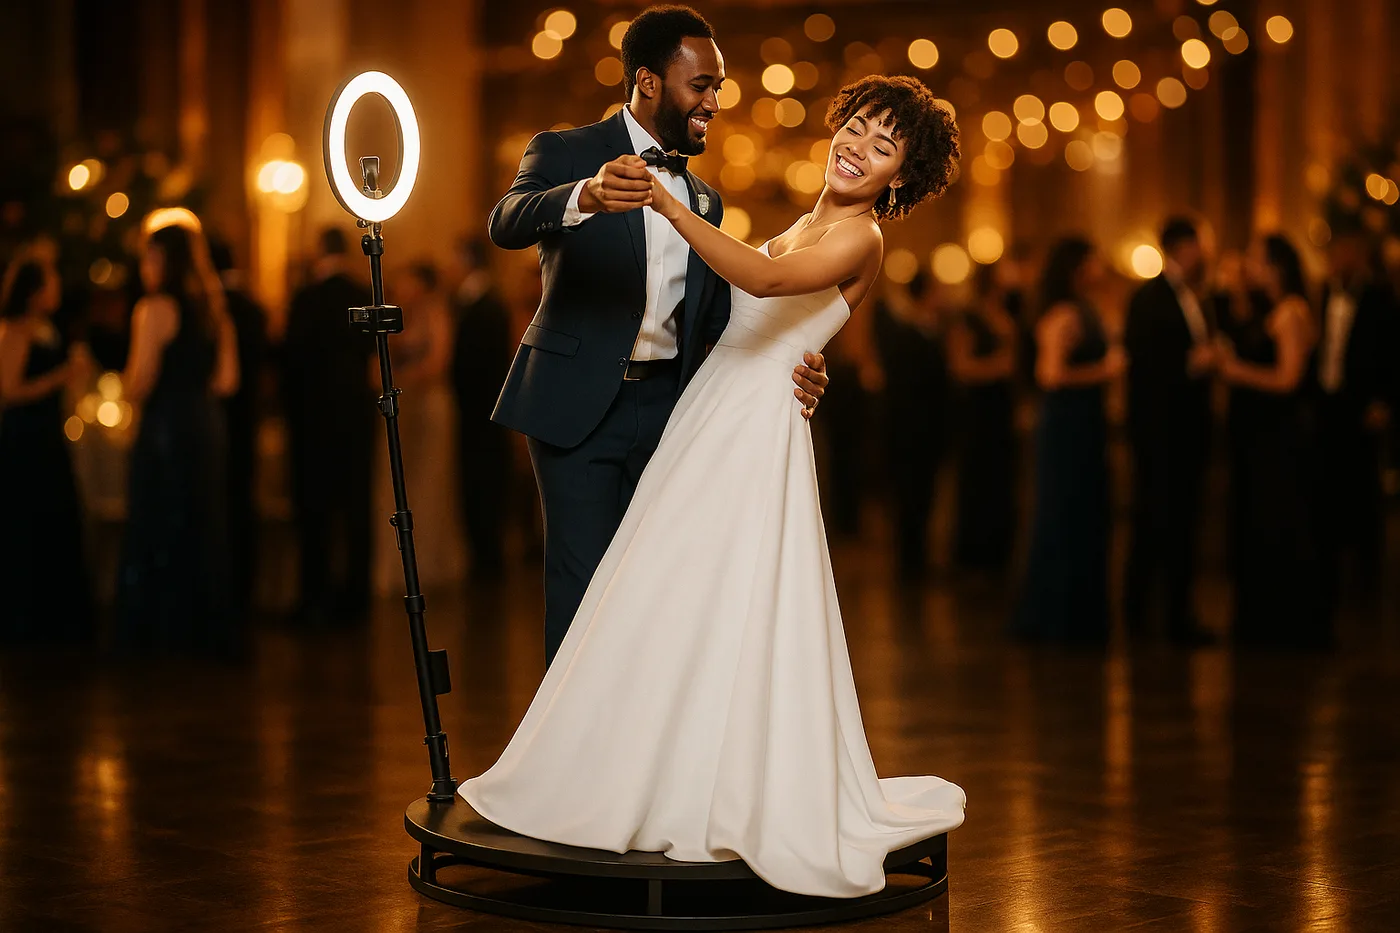
360 Platform
The most viral spinning 360 platform for weddings and events
From 2.690 € →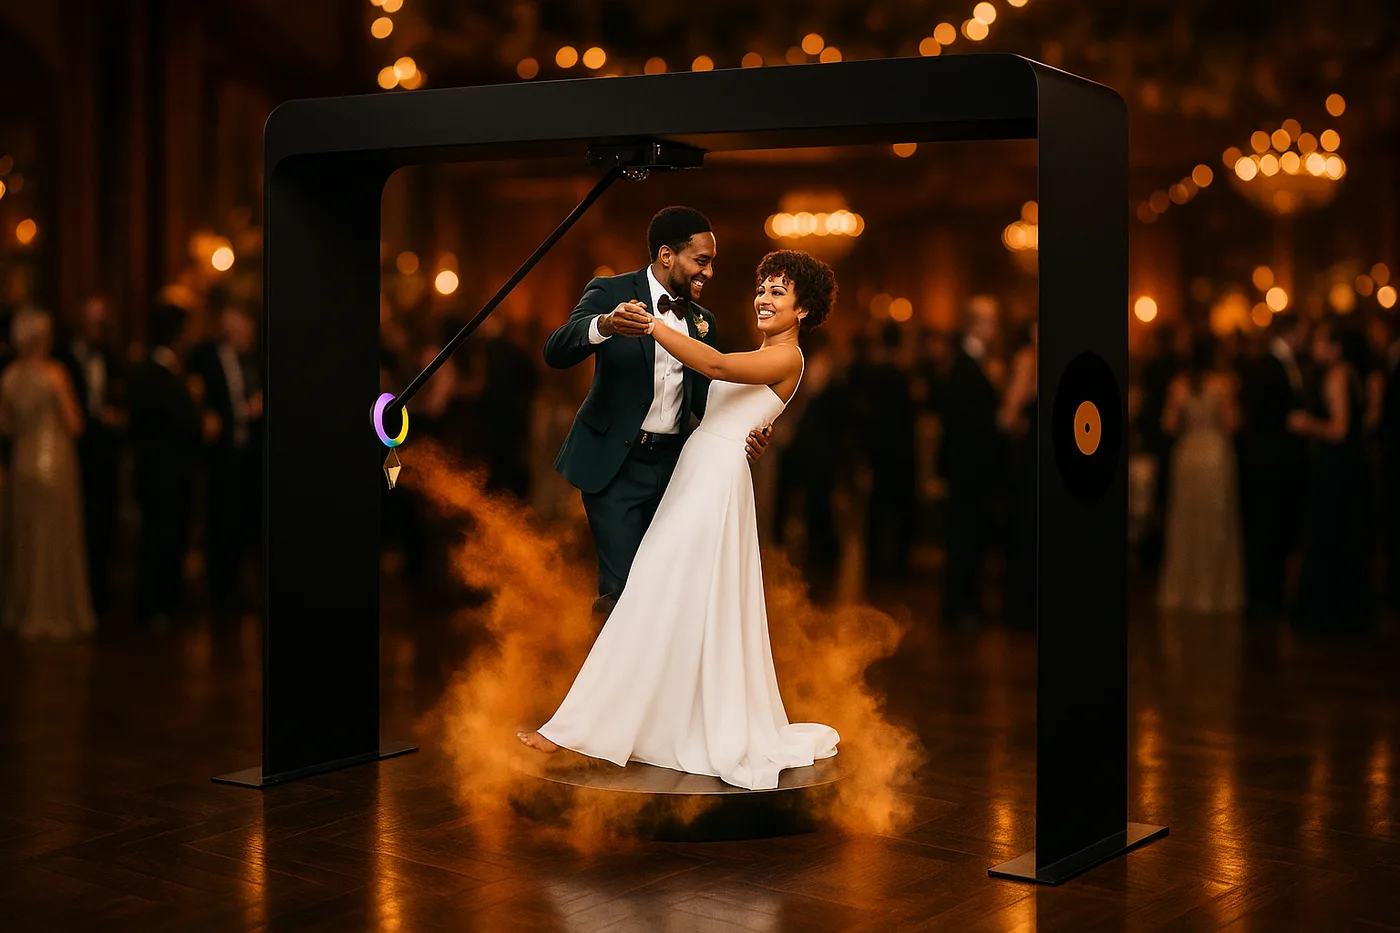
Overhead 360
The overhead arm that flies around your group: up to 14 people, indoors and outdoors
From 3.290 € →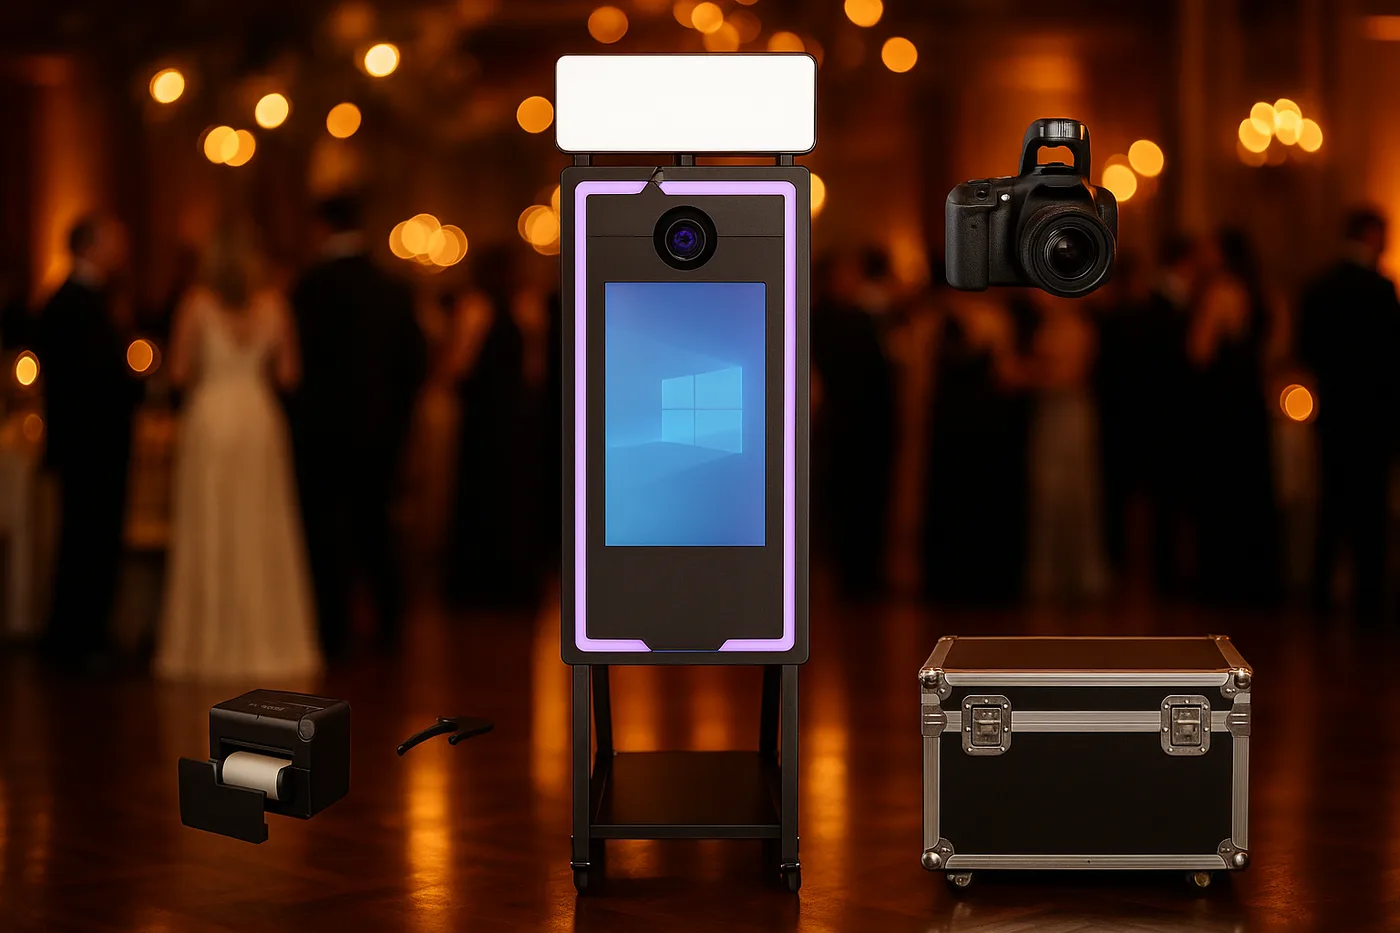
Magic Mirror
Elegance and a premium experience for weddings, ready for instant printing*
From 2.290 €* →* Photo booth price. Canon camera and DNP printer optional, subject to conditions: ask us for a quote and we will put together the complete kit.
Keep reading
Need Help Choosing?
We're direct manufacturers. We'll advise you with no obligation for your case.